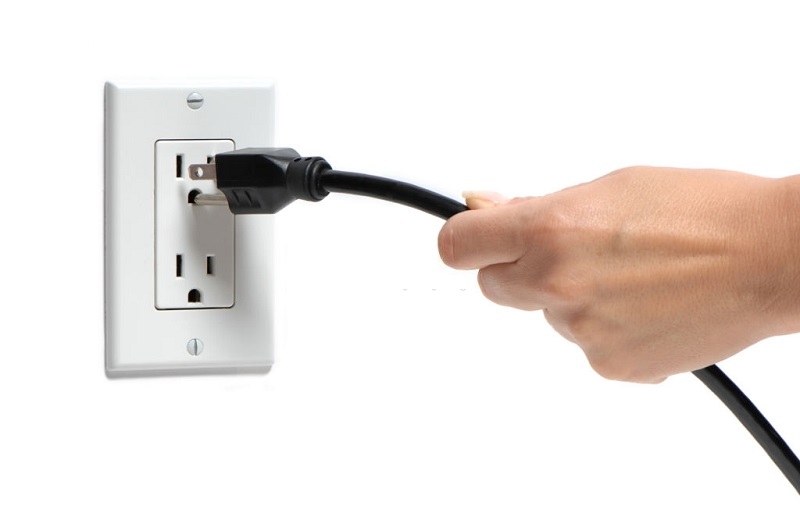
How to Replace an Extension Cord Plug
An extension cord is a handy tool when it comes to putting in multiple electronic devices in a concentrated area where multiple key electronic points may not be available. The extension cord works by allowing to you also distance between an electronic point and where you are working with the electrical device.
Imagine a scenario where you must sit or work at a particular distance from the key electronic point on your wall. Not all devices have long wires, which makes this very inconvenient. Extension cords are very handy in such cases.
Typically, an extension cord has multiple points to attach electronics. Many people are of the belief that if one of the points stops working or if the plug no longer has electronic transmission value, then the device needs to be disposed of. This is not true, as any good electrician in New York will tell you. The plug can most certainly be changed by anyone though if you have not done it before it may be advised to call on a 24/7 electrician in NYC and see them do it before attempting it yourself.
Let us share with you the steps of replacing an extension cord plug:
- Cut and replace the old plug.
Once you have made sure your plug is not connected to any possible power source, you must use the wire cutters to cut off and detach the old plug that is no longer working from the cord. This needs to be done very carefully and strategically in other to not hurt yourself while also not harming the wire of the extension cord.
We would like to repeat here that if you are unsure of your skill with such items or worried you can contact an emergency 24/7 electrician.
Once you have recovered the old plug, remember to also cut off any damaged part of the wire. This is to ensure that the whole effort is not spoiled by a defective part of the wiring.
Now slide the new plug into position over the cut end but out of the way for the time being. If your plug has an outer shell and an inner body, then follow this process only got the outer part as of now.
Don’t forget to check that your plug has the same specifications (amperage and voltage) as the older one.
- Strip the outer jacket
The next step in the process is for the outer jacket of the cord to be stripped. This is a process that needs to be carried out very carefully in order to avoid hurt or possible hazards in the future.
A utility knife must be carefully used here in order to partially cut the outer jacket of the cord. It is imperative that you do not cut all the way through. That could result in you cutting and insulation. If the insulation is cut, then it becomes s potent fire or electric shock hazard waiting to happen. Therefore, be very specific and careful here. The cut must be precisely 3 inches from the end of the cord and no more or less.
Using your fingernails split the jacket from the end of the cord along the cut you just made. Then peel the two sides apart. Follow this up by trimming off the loose jacket using wire cutters or a utility knife.
- Strip the wire insulator
Now for the next step, the process becomes even more exact and needing precision. When dealing with the wire insulator, the understanding of such things is a necessity in order to not cause harm.
You need to now strip approximately 0.75 inches of only the outer insulation. This must be done from the end of each of the conducting wires in the cord to be done right. The tool to use here is the wire stripper. The notch on the wire stripper will need to be used that matches precisely the diameter (gauge) of the cord wire.
You must not be distracted or unsure of yourself in this step. Do this carefully. Again, if unsure call for an electrician.
- Tie an underwriter’s knot
Before we go on to explain what or where to tie this knot, it is important to understand the knot in itself and why it is used.
Such a knot is tied in order to reduce the strain on the screw terminal connections. This is the point where the metal wires form a connection with the socket or plug, thus preventing the wires from pulling free. In this case, it is done to disallow the plug to be pulled free by accident.
Coming to the process here, you need to now tie the neutral and hot, white and black wires respectively of the cord in an underwriter’s knot but only if there is room for this in the cord body. This, as mentioned, provides protection against tugging.
In the case that there is no space for this knot in the cord body, do not worry. The process can be completed without this step. Just ensure that the plug you use had a clamping device to secure the cord.
- Connect the cord wires
The next step to do is for the cord wires to now be connected. To do so, you must first loosen with the help of a screwdriver the terminal screws on the plug. This has to be followed by the hot (black) wire bare ends being wrapped clockwise around the brass terminal.
Next is the process of tightening the screw down on the wire while ensuring that there are no stray wire hairs in the connection.
Next, you need to connect the neutral (white) wire to the silver terminal while also connecting the ground (green) wire to the ground screw in the same fashion. The ground terminal is mostly green in colour. Even if it is not, it is the one connected to the U-shaped ground prong.
Make sure the connections are strong by gently pulling on the wires.
- Secure the plug
As the final step, you need to tighten the plug clamp onto the cord with the help of a screwdriver. In the case of a two-part plug, the outer portion needs to be slid till the wired part of the plug, and the two parts need to be joined with the given screws. Finally, you need to tighten the cord clamp on the body of the extension cord.
Having followed this process, you would have successfully changed an replaced the plug in your extension cord and can now start using it again. We hope this process helps you in a time of need but remember that certain electrical processes are best left to professionals and while this can be done on your own, don’t try so with all-electric work.